Send G9 to Camp 18 (150 Royal Recruit, 150 Royal Militia)
 MG
MG
50MSW

220MMR - (48MSW) -
Troop total load = 270
Note – Block - Send Generals in order quickly (drums stopping) G1 to G10
BLOCK - Send G1 to Camp 19 (150 Royal Militia, 100 Royal Bowman, 100 Royal Cannoneer) General is defeated
 NG
NG 
1R - (1R) -
Troop total load = 1
BLOCK - Send G2 to Camp 19 (150 Royal Militia, 100 Royal Bowman, 100 Royal Cannoneer) General defeated
 BHG
BHG 1R - (1R) -
Troop total load = 1
BLOCK - Send G3 to Camp 20 (200 Royal Cavalry, 150 Royal Longbowman)
NG 107MSW
93MMR - (0) -
Troop total load = 200
BLOCK - Send G4 to Camp 19 (150 Royal Militia, 100 Royal Bowman, 100 Royal Cannoneer) General defeated
BHG 1R - (1R) -
Troop total load = 1
BLOCK - Send G5 to Camp 19 (150 Royal Militia, 100 Royal Bowman, 100 Royal Cannoneer) General defeated
BHG 1R - (1R) -
Troop total load = 1
BLOCK - Send G6 to Camp 19 (150 Royal Militia, 100 Royal Bowman, 100 Royal Cannoneer) General defeated
BHG 1R - (1R) -
Troop total load = 1
BLOCK - Send G7 to Camp 21 (200 Royal Recruit, 100 Royal Bowman, 100 Royal Cannoneer, 1 Assassine)(Leader) General defeated
 Vargus
 90R

90B - (90R 90B) -
Troop total load = 180
BLOCK - Send G8 to Camp 21 (200 Royal Recruit, 100 Royal Bowman, 100 Royal Cannoneer, 1 Assassine)(Leader) General defeated
 MMA
MMA 220B - (220B) -
Troop total load = 220
BLOCK - Send G9 to Camp 21 (200 Royal Recruit, 100 Royal Bowman, 100 Royal Cannoneer, 1 Assassine)(Leader)
MG 17MSW

18MRK

50AMR
185MMR - (16MSW 18MRK) -
Troop total load = 270
BLOCK - Send G10 to Camp 19 (150 Royal Militia, 100 Royal Bowman, 100 Royal Cannoneer) General defeated
BHG 1R - (1R) -
Troop total load = 1
Max loss for sector 64MSW 18MRK 90R 310B


Roaring Bull with
Anslem
Nusala
Level 56 Ali Baba - young wood cutter
An Intriguing Coin - Tikki Island
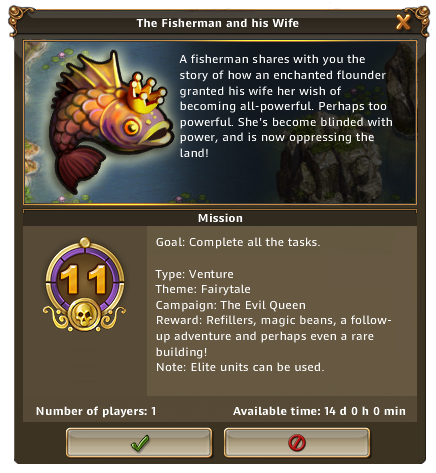
The Fisherman and his Wife
 Reply With Quote
 Besieger - Guide (level 56)
 Lord Dracul 2 x
  Normal generals
 MoD for block on camp 1 to save time included

 Swordsman(SWR)
  Mounted swordsman(MSW)
  Knight(KNG)
  Marksman(MRK)
 Armored Marksman(AMR)
  Mounted Marksman(MMR)


 200 Gold Coins,
  1500 Tools
  7450 experience points,
  100 Bread,
  50 Sausages
 500 Titanium Bars and Own
 Veteran, 2 x


 101BSG - (58MSW) - Troop total load = 180
 , Produce and use Dispelling Concoction in the enchanted pond.


 65KNG
65KNG 


